Physical Address
304 North Cardinal St.
Dorchester Center, MA 02124
Physical Address
304 North Cardinal St.
Dorchester Center, MA 02124

Managing User Accounts in Plesk: A Comprehensive Guide
In the digital realm, security and accessibility are paramount, especially when managing websites through platforms like Plesk. Plesk simplifies web hosting management but understanding how to effectively manage user access is crucial for maintaining website integrity and security. This guide will delve into the process of creating, managing, and removing additional user accounts in Plesk, enabling you to grant limited access to third parties such as contractors or team members, without compromising full control over your web assets.
The necessity for additional user accounts arises when you need to provide limited access to Plesk’s features and controls. Whether it’s a developer needing access to a specific domain or a content manager updating website content, setting up additional user accounts with appropriate permissions is essential.
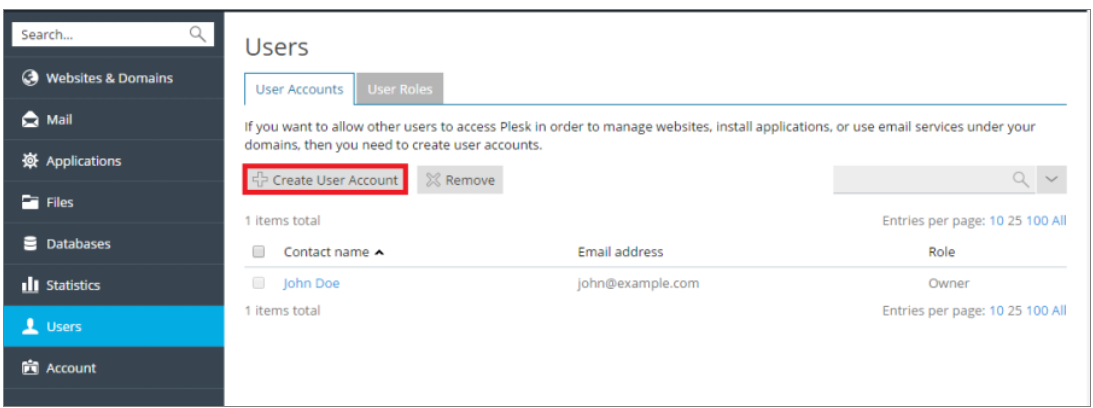
Users > Create User Account.After account creation, you might want to add more contact details for the user:
Users, click on the user’s contact name, and then Change Settings.Contact Details tab, enter the information and click OK.To change an existing user’s details or permissions:
Users, click on the user’s name, and make the necessary adjustments.OK to save changes.There may be times when you need to temporarily revoke access from a user without deleting their account:
Plesk allows for password resets through a direct link:
Users and click Change Settings.If a user no longer needs access:
Users and click Remove.Yes.Effective user management in Plesk not only enhances security but also ensures that tasks are efficiently distributed among team members or third-party contractors. By following the steps outlined above, you can maintain optimal control over your web hosting environment, ensuring that each user has the access they need without compromising the overall security and functionality of your websites.